Use your screw driver, mounting bolt, or something pokey to poke 8 holes in each end of the deck
*Be careful, the grip is pretty strong until it completely gives way. Make sure your hand is not behind the hole when your doing your poking.
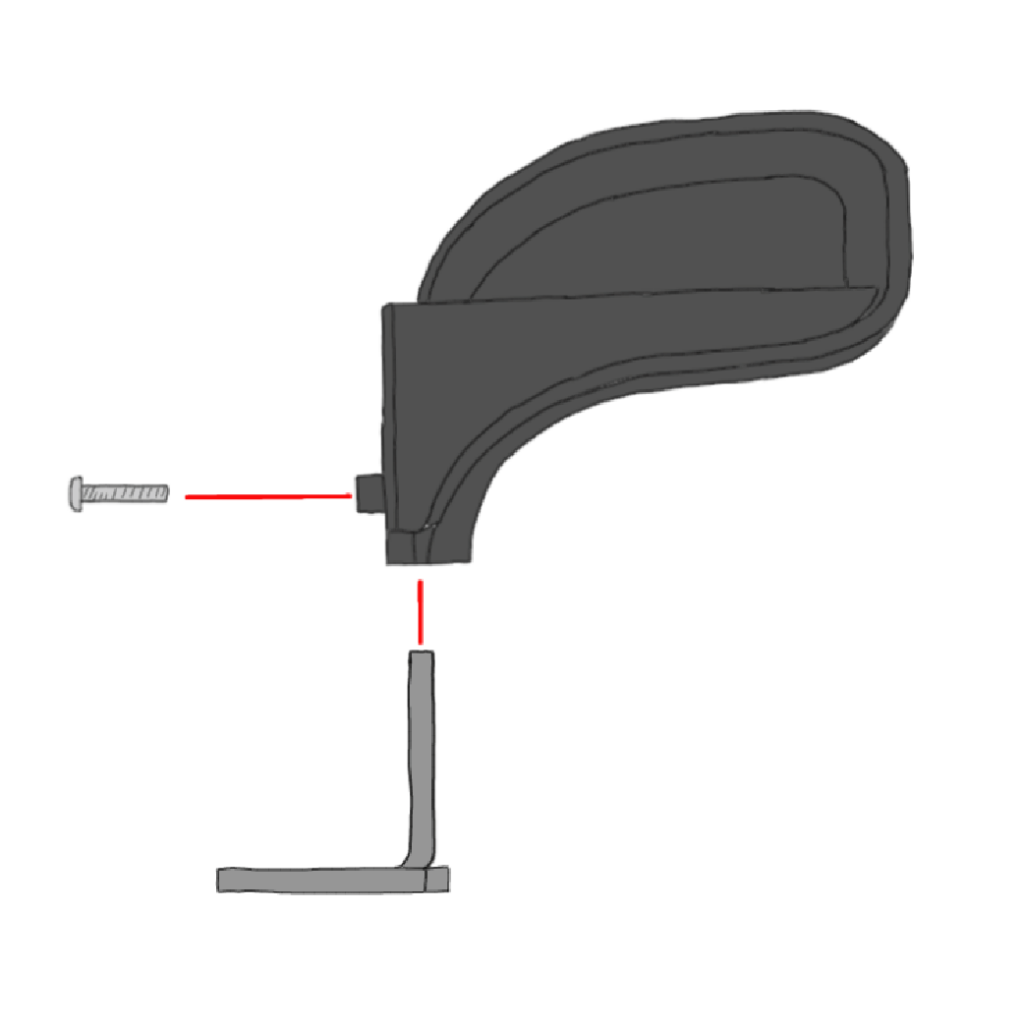
STEP 4 - Casters
Mount your casters
Use countersunk mounting bolts to attach your casters the deck
Get all 4 screws tight-ish before tightening the bolts all the way
Make sure the logos on the casters are both facing towards the ends of the deck
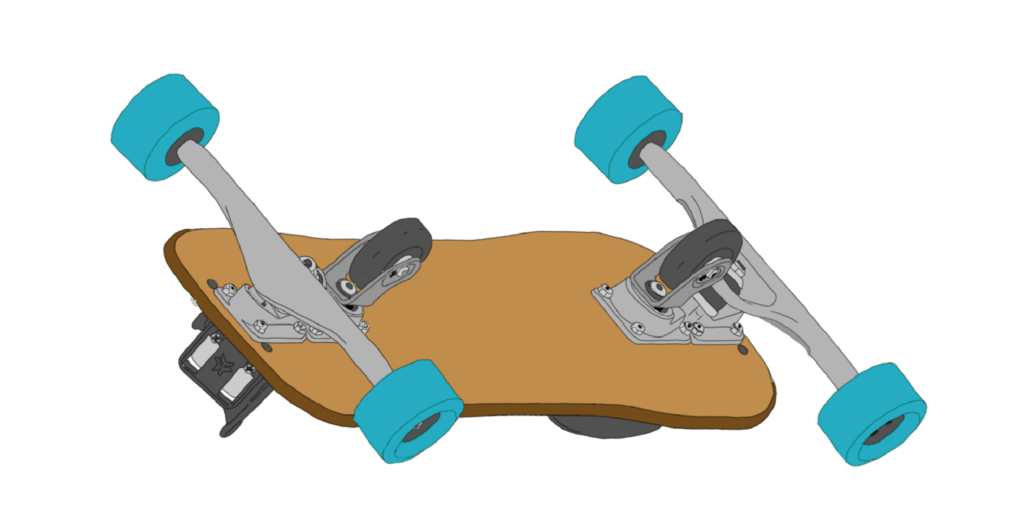
STEP 5 - Trucks
Mount your trucks
Use countersunk bolts to attach the trucks to the deck
The truck needs to be installed with the pivot cups towards the ends of the deck.
Get all 4 screws tight-ish before tightening the bolts all the way
STEP 6 - Bindings
Assemble your bindings
Add the plastic binding toppers to the binding baseplates using the slot in the bottom of the topper.
Use the small silver screws to set the height of the binding toppers.
*Don’t be the noob that misses the slot in the bottom of the topper. Attaching the topper to the side of the base will result in the screws immediately bending.
STEP 7 - Add Bindings
Install your bindings
Attach the bindings using countersunk bolts through the widest set of holes in the deck
The nuts need to be the the grip side of the deck
*If you are worried about the direction of the graphic take note of which side you install the binding toppers on as there is a toe and heal side of the toppers.
STEP 8 - Pre-ride Check (every session)
Make sure your caster wheel is tightened, the bracket feels strong, and that the caster spins all the way around.
Check your edge wheel nuts for proper tightness.
Check to see if your kingpin nut is properly tightened
Insure your bindings are properly assembled and have the height adjust screws installed.
Pull the hanger arm away from the deck to make sure your easy blocks are installed and the springs are properly secure.